[Guide] How to Start a Shopify Store in Less Than 10 Minutes

This article contains affiliate links that will allow us to earn commissions without any extra cost to you. Read our full disclosure here.
If you've started selling your products on Amazon but you'd still want to have a dedicated site where potential customers can have complete and easy access to all your products, you can start a Shopify store.
There are a handful of e-commerce platforms out there, but Shopify is one of the most popular among online sellers. We'll dive into the costs of owning a Shopify store, how to start one and the pros and cons of owning one.
Related reading: The Ultimate Guide to Shopify Fulfillment Service [2022].
Contents
What Is a Shopify Store?
Shopify is a platform where business owners can create their online stores and sell their products. Customers who visit a Shopify-hosted brand website will see highly personalized pages of the brand.
Also, it’s one of the most popular ecommerce platforms in the industry, offering services to more than 175 countries around the globe. Currently, more than 3 million websites use Shopify.

Shopify is a SaaS solution, which is designed to help merchants build an eCommerce store. The biggest difference with other ecommerce platforms is that a Shopify store is dedicated only to a particular brand.
It is probably top of mind when it comes to ecommerce platforms and also one of the most chosen for many ecommerce sellers, although there are other popular alternatives out there to choose from.
Shopify generated over $4.6 billion in total revenues in 2021, according to Macrotrends, increasing by more than four billion since 2015.
According to BuiltWith, Shopify is second only to WooCommerce and currently holds 20% of the e-commerce platform market share in the US.
Hence, Shopify and WooCommerce are the two leading ecommerce platforms where ecommerce sellers decide to sell their goods.
What Are the Costs of Opening a Shopify Store?
When you sign up for Shopify, you'll get a 14-day free trial period, which will allow you to play around with the platform without having to pay anything, so you can decide later if you want to launch your online store.
Here's a breakdown of the pricing for each plan:
| Basic | Shopify | Advanced | Shopify Plus | |
|---|---|---|---|---|
| Price | $29/month | $79/month | $299/month | Starting at $2000/month |
| Selling fees | 2.9% + 30¢ USD | 2.6% + 30¢ USD | 2.4% + 30¢ USD | – |
| Shipping Discounts | Up to 77% | Up to 88% | Up to 88% | – |
| Point of sale – Shopify POS Pro (per localization) | +$89 USD/month | +$89 USD/month | +$89 USD/month | – |
But all that glitters is not gold, that is, many sellers get surprises, especially when it comes to accessing more advanced settings since you won’t only have to pay a monthly plan but also important commissions (see table above).
However, if you’re just getting started with your online business, you can choose the basic plan for $29 per month, and if in the future you need more features, you can upgrade it any time.

Step-by-Step Guide to Building a Shopify Store in Less Than 10 Minutes
One of the reasons Shopify has gained popularity as an e-commerce platform is how easy and quick it is to open an online store. Here's how you can create a Shopify store in just 10 minutes:
Step 1: Create a Shopify Account
In order to start using Shopify, you’ll need to register. They will request your personal information such as email, password, and a unique store name.
They also ask you if you are already selling on other platforms if you are just getting acquainted, if you sell with a different system, or if you are not yet marketing products.
In addition, they will ask you if you are selling and if so, what your revenue range is.
Finally, on the last page, you’ll need to fill out personal details, such as your name, cell phone number and address, which are used to configure currencies and tax rates.
Step 2: Add Products and Collections to Your Shopify Store
Second, you’ll have to list all the products or services you’re planning to sell.
On the left of your Shopify panel, you will see a bar that says “Products.” Select that to add new products to your listings or choose from existing products in your inventory.
In this section, you can also add the product's name, a description of what you sell, images, prices, and more.

Moreover, there is no limit to the number of products you can sell on Shopify.
Once you have your entire catalog uploaded to Shopify, you can organize it by collections, to make it easier for your buyers to search on your online store.

In “Collections”, you can group your products so that customers can find them by category, size, color, etc.
Additionally, depending on the template you've chosen, the collection pages you create will look different.
Step 3: Choose a Template for Your Shopify Store
Once you've got your products, collections, pages, and main navigation in order, you can choose a Shopify theme. You can find this section by clicking on “Online Store” and then “Themes.”
You can choose from a selection of paid and free themes available in the store. You’ll have to make this decision depending on your budget.

If you’ve used WooCommerce before, you’ll notice that one of the differences between WooCommerce and Shopify is that you can get paid themes on WooCommerce starting at $35 while on Shopify, we find prices starting at $180.
Step 4: Design your Shopify Store
Click on “Personalize”, to access the customization part of the theme (first, we get the part of the homepage but we recommend you start with Theme Settings). From there, you can customize your store.
Here are some changes you can make to your Shopify theme:
- Articles that appear on the page
- Functionality of related articles
- Homepage slideshow carousel
- Logos

Once the homepage is ready, the next step is the creation and design of the main pages of our online store.
For example, you can create pages like About us, Blog, Contact us, etc.

Also, having a blog in your online store and creating content related to your products is something that will help you rank on Google.

Step 5: Customize Your Shopify Store’s Domain
When you sign up for Shopify, you will receive a domain that ends with “.myshopify.com.” If you want to have a more attractive domain, you can buy one on Shopify.
The price of course varies, depending on your chosen domain.

You just have to go to Shopify's domain name generator and write the name you would like to have; you'll be able to see if the one you want is available, and if not, you can see how much it would cost to buy one of its variations. You can find domains on Shopify starting at $11 per year.
If you already have a domain, you can connect it to Shopify. You just need to go to Settings > Domains and then it will connect automatically.
However, if your domain provider is other than Google Domains, GoDaddy, or 1&1 IONOS, then you have to connect your domain manually.

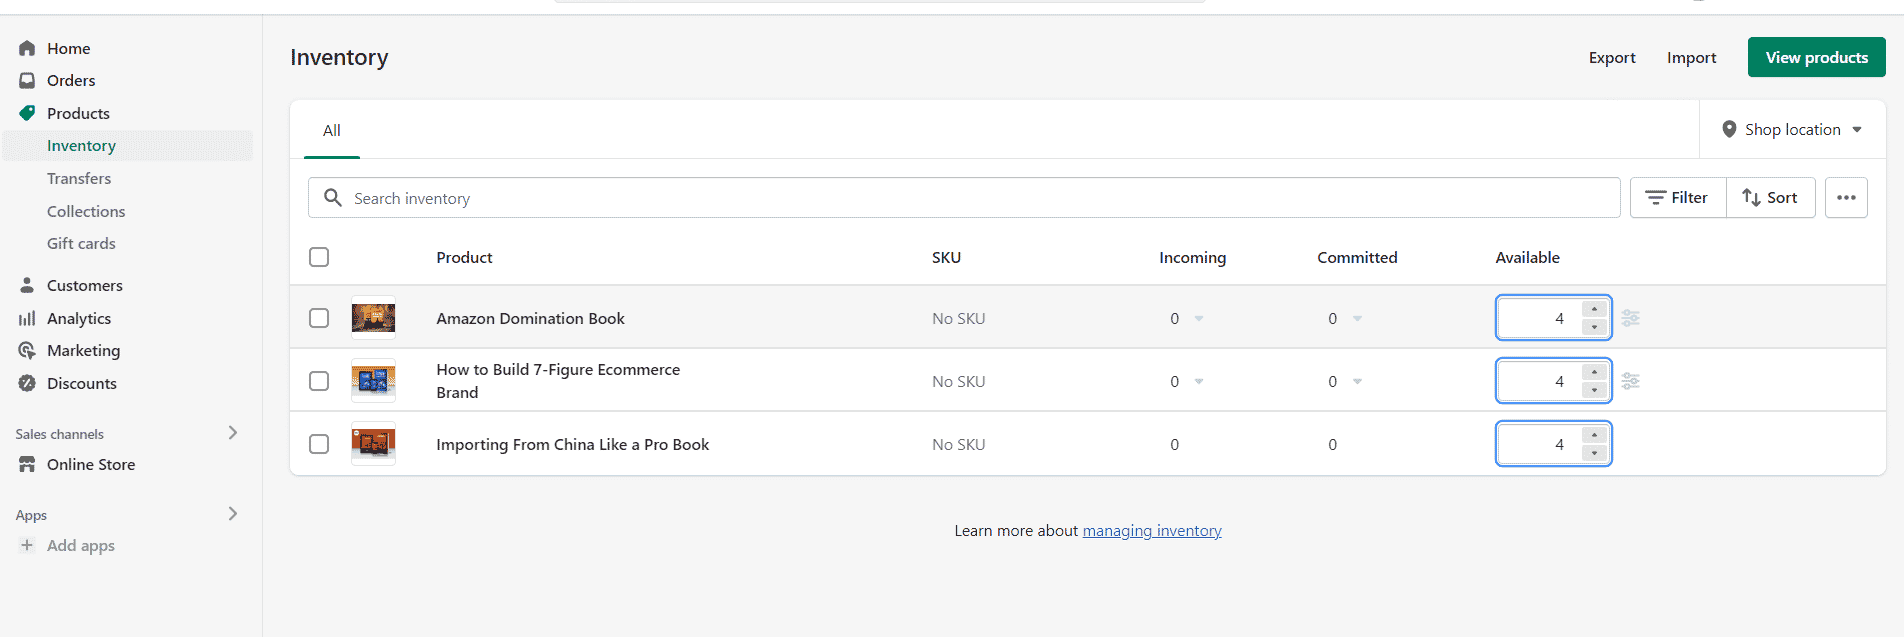
Furthermore, under “Inventory” you can track the stock of each of your products to know when stock levels are low.

Step 6: Set Up a Payment Method
Finally, decide which payment methods you will use.
Go to Settings > Payments to set up your payment provider. Shopify has made it easy to start accepting all the major forms of payment. It works with many payment processors, including Shopify Payments, Stripe, and PayPal.
5 Successful Shopify Stores to Inspire You
Here are some examples of the most successful Shopify stores that use different templates and content to stand out:
Staples
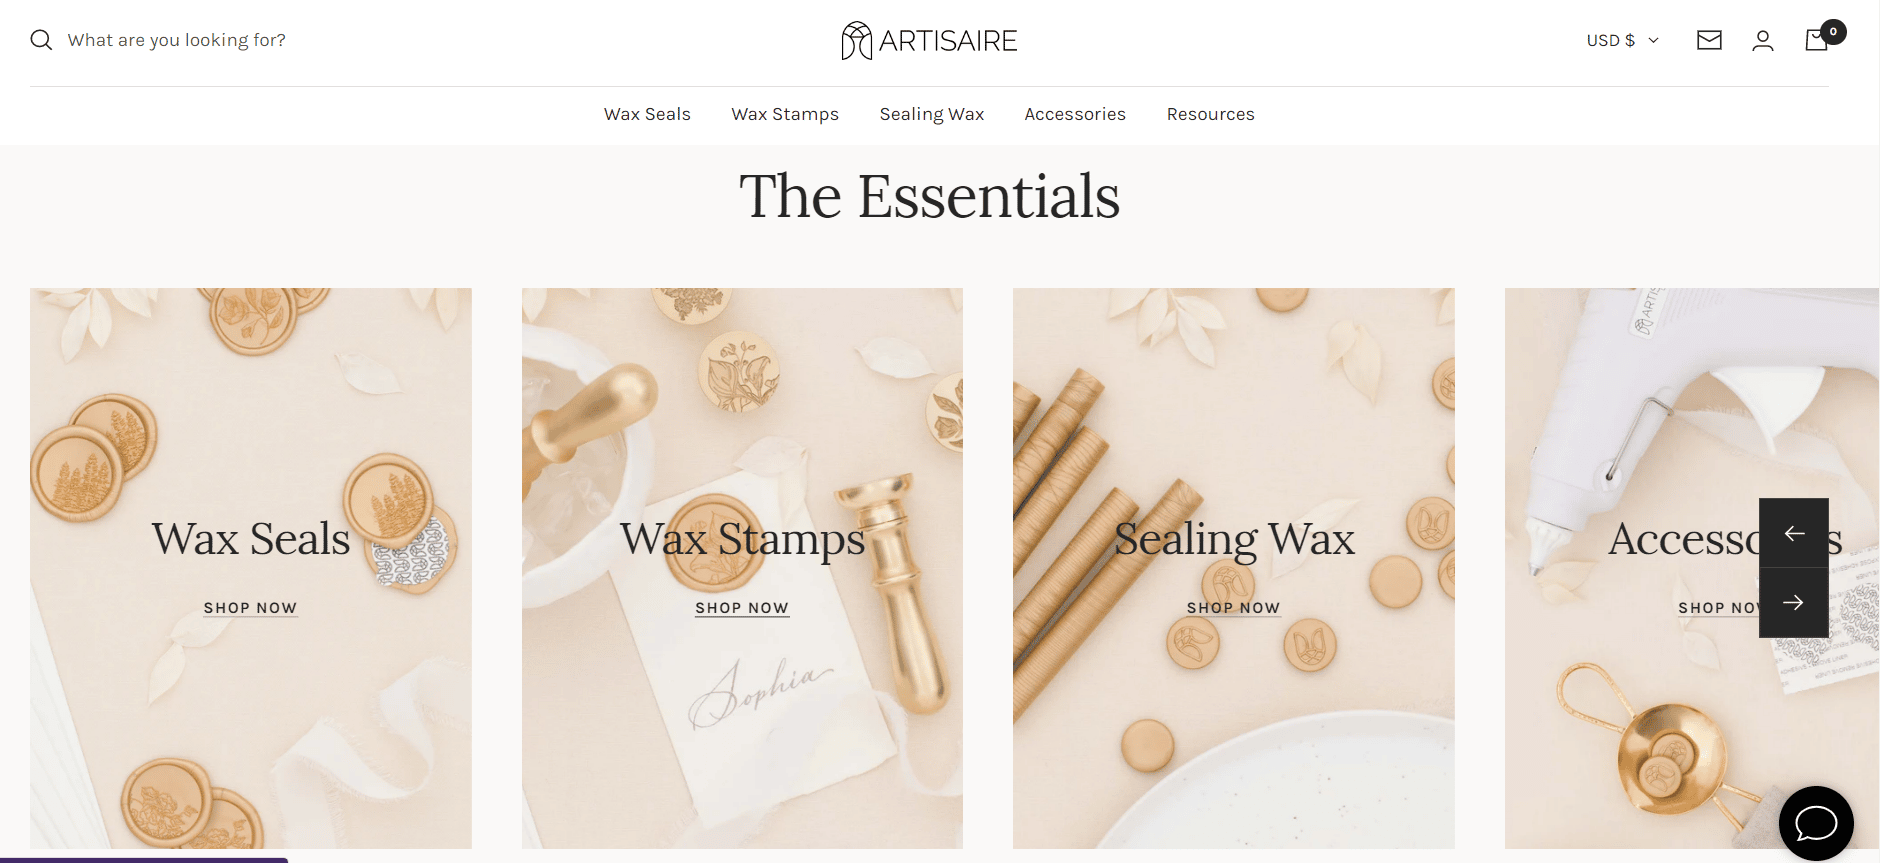
Staples is a retailer that sells office supplies, furniture, and computers. It uses a simple design for its online store, with a basic design and pages. The navigation bar only presents a few categories, and its homepage shows some of its deals.

Decathlon
Decathlon is an example of a visual and entertaining Shopify store. It places a short video on its homepage so customers can better connect with the brand. With many different types of sports categories, Decathlon places its new arrivals on the homepage.

ColourPop
The ColourPop store stands out through product images, colors, and pages, offering an aesthetically pleasing design for the consumer experience.

Gymshark
Gymshark keeps it simple with just three different categories and doesn’t clutter up the menu with too many options.

Allbirds
Allbirds’ store features photos, bright colors, and easy navigation, and also outlines the company’s sustainability.

Pros and Cons of Setting Up a Shopify Store
Having a Shopify store has its fair share of perks and disadvantages.
Pros of Creating a Shopify Store
- Easy to use and you don’t need web code skills
- Acquire your own domain name
- SEO friendly
- Integration with other sales channels and marketplaces, such as Amazon or eBay
- You can add a wide range of plugins
- Access to customer support
- Good integration with Facebook Ads and other ad tools
- Personalized pages for your brand
- Helps establish credibility
- Shopify can feed directly into your Amazon product feed and you can ship your products using Amazon and Multi-Channel Fulfillment
- Multiple payment processors
Cons of Creating a Shopify Store
- Expensive
- Sales fee
- Low chance of traffic
- Each extra functionality is an extra fee
- Less editable and customizable as WooCommerce
- Paid ads (Google, Facebook Ads, etc)
- Mostly store focused
Final Thoughts
Shopify is one of the most attractive alternatives for medium-sized businesses or those that are preparing to grow. If you want to forget about technical procedures such as hosting and configurations and you need a simple and functional project, it is surely the best choice.
On the other hand, if what you want is a truly scalable project and to sell a lot in the long run, it is better to opt for other e-commerce platforms or a custom website.


Thanks for the guide, it’s helpful.